ES
ES  EN
EN  IT
IT  FR
FR  DE
DE 
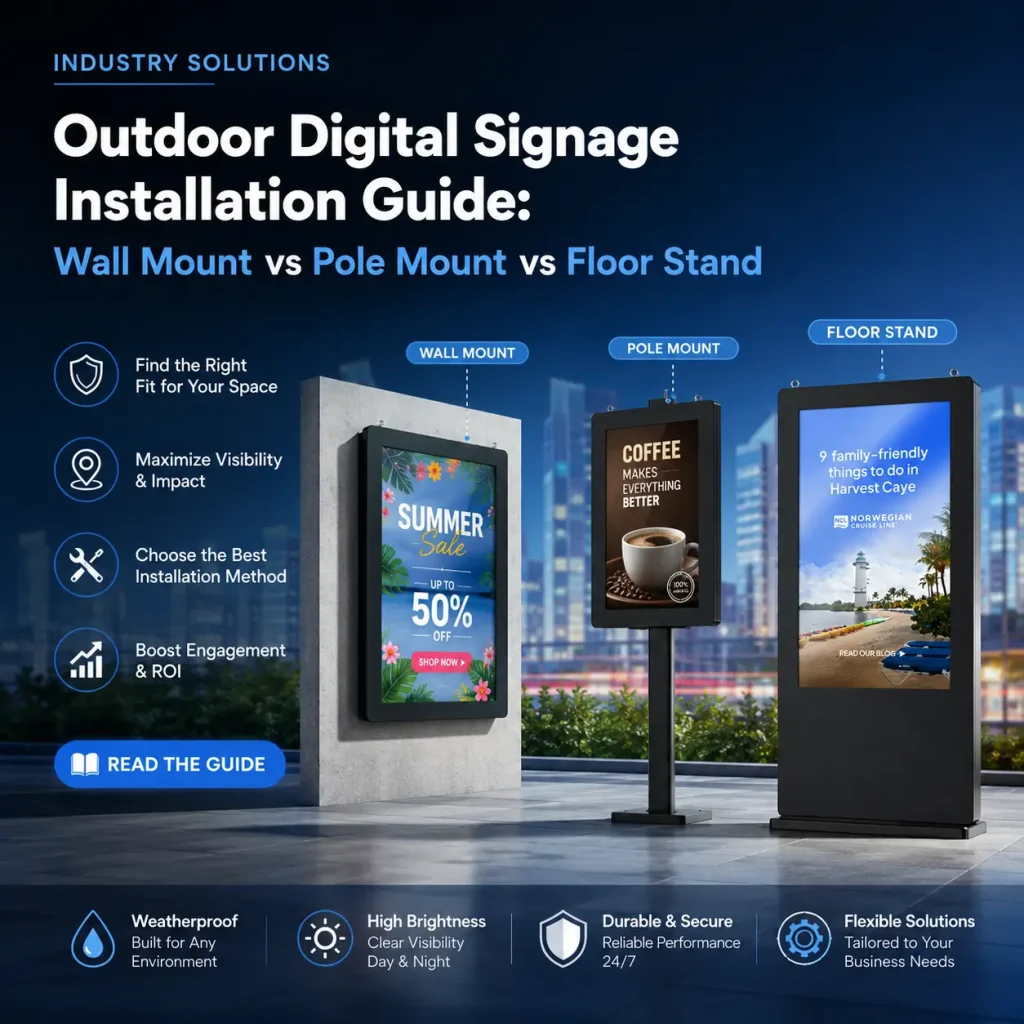
Installing cartelería digital para exteriores is more complex than hanging a TV on a wall. The installation method affects structural integrity, viewing angle, weather sealing, and long-term maintenance. Here is a detailed comparison of the three primary mounting options.
Installation Method Comparison
| Factorizar | Wall Mount | Pole Mount | Floor Stand |
|---|---|---|---|
| Lo mejor para | Building facades (urban advertising machines) | Sidewalks, plazas (see outdoor advertising market trends) | Open areas, parks |
| Structural requirement | Solid wall (brick/concrete), min 200mm thickness | Concrete footing, 600x600x600mm minimum | Concrete base, 800x800x400mm minimum |
| Weight capacity | 50-150 kg | 30-80 kg | 50-100 kg |
| Wind load rating | Higher (protected by building) | Moderate | Lower (fully exposed) |
| Installation cost | $400-$1,200 | $800-$2,000 | $1,000-$2,500 |
| Adjustability | Fixed or limited tilt | Full rotation possible | Height and rotation |
| Maintenance access | Requires ladder/scaffold | Ground-level typically | Ground-level |
| Vandalism risk | Más bajo | Moderate | Más alto |
| Footprint | Minimal | ~0.4 m² | ~0.6 m² |
Wall Mount Installation Guide
Structural Assessment
Before mounting, verify: wall material (reinforced concrete, brick, steel frame?), thickness (minimum 200mm for concrete), presence of rebar or studs, and load rating (display weight × 4 safety factor).
Mounting Hardware
- Heavy-duty expansion anchors (M12 or M16 grade 8.8)
- Stainless steel mounting bracket with anti-corrosion coating
- Silicone sealant on all wall penetration points
- Gasket between bracket and wall for moisture barrier
Cable Management
Drill a weather-sealed cable pass-through. Route cables through the wall into the building interior if possible. For exterior cable runs, use UV-resistant conduit and watertight junction boxes.
Pole Mount Installation Guide
Foundation Requirements
For freestanding poles: concrete footing minimum 600×600×600 mm (deeper in frost zones). Allow 7 days curing before mounting the display. Use galvanized or stainless steel poles — never untreated steel.
Height & Angle
Center of the display should be at average eye level: 1.5-1.7m above ground for sidewalk viewing, 2.0-2.5m for vehicle-oriented placement. Allow 15-30° downward tilt for optimal viewing angle.
Floor Stand Installation Guide
Base Requirements
Floor stands need substantial bases to prevent tipping. For a 55-inch display: minimum base weight of 40 kg (concrete-filled base or bolted to existing slab). Wind load calculations are essential for exposed locations.
Security
- Security bolts (Torx or one-way) to prevent unauthorized removal
- Anti-tilt brackets that engage the display frame
- Tamper switches that trigger alarms if the display is moved
Common Installation Mistakes
- Undersized anchors — always use the manufacturer’s recommended fastener specification
- No drip loop on cables — moisture follows cables into the display
- Mounting on hollow walls — residential stucco or wood-frame construction cannot support outdoor displays
- Ignoring wind load — a 55-inch display in 120 km/h wind experiences approximately 100 kg of lateral force
- Poor drainage — mounting brackets should not trap water against the enclosure
Installation Checklist
- ✅ Site survey completed (wall type, power, network availability)
- ✅ Correct mounting hardware sourced (stainless steel)
- ✅ Foundation poured and cured (pole/floor mount)
- ✅ Weather sealant applied to all penetrations
- ✅ Cable routing complete with drip loops
- ✅ Display tested before final sealing
- ✅ Grounding/bonding verified
- ✅ Final weather seal applied around display edges
Your mounting choice affects both visibility and maintenance access, so browse our outdoor digital signage products and consult suppliers who offer multiple installation configurations.
For transit and roadside projects, review our transportation display installation guidance before finalizing mounting plans. Post-installation best practices: use UV-rated cable ties, label all connections for maintenance access, and test remote device management connectivity before completing final weather sealing. All outdoor installations should comply with cartelería digital para exteriores mounting specifications to preserve warranty coverage and ensure structural safety over the display lifetime.
Preguntas frecuentes
Can I install outdoor signage on a wooden wall?
Not recommended. Wind and weight loads require solid concrete or steel frame mounting. Wood lacks necessary anchoring strength and durability.
Do I need a building permit?
Yes for most commercial installations, especially pole mounts and floor stands that require concrete footings. Check local building codes.
How long does installation take?
Wall mount: 2-4 hours. Pole mount: 1-2 days (including footing curing). Floor stand: 4-6 hours. Allow additional time for electrical work.
What if I need to move the display later?
Plan for it during installation. Use a mounting bracket that can be unbolted, and leave 1-2m of service loop in the cable routing.
Get Professional Installation Support
Proper installation is critical for display longevity and safety. Whether you need wall mount, pole mount, or floor stand, contact our team with your installation environment details for a custom mount specification and installation quote.
Artículos relacionados
- OEM vs. Etiqueta Blanca vs. Marca: Cómo Elegir su Fabricante de Quioscos para Exteriores
- Transportation Display Sourcing: Choosing Suppliers for Bus, Train & Airport Projects
- Máquinas de Publicidad Exterior en 2026: Cómo los Tótem Inteligentes Están Remodelando el Marketing Urbano
- Outdoor Digital Signage Buyer’s Guide Hub